Setting stones in silver jewelry is a captivating art that transforms raw materials into exquisite pieces of wearable art. Whether you’re a budding jewelry artisan or a DIY enthusiast, mastering the technique of stone setting opens the door to endless possibilities. In this comprehensive guide, we’ll explore the step-by-step process of setting stones in silver, unraveling the secrets behind creating stunning and personalized jewelry.
Materials Needed:
Before diving into the process, gather the essential materials:
- Sterling Silver Metal: Choose high-quality sterling silver for your jewelry. Its durability and malleability make it an ideal material for stone settings.
- Gemstones: Select gemstones based on your design and personal preferences. Common choices include diamonds, sapphires, emeralds, or semi-precious stones like amethyst or turquoise.
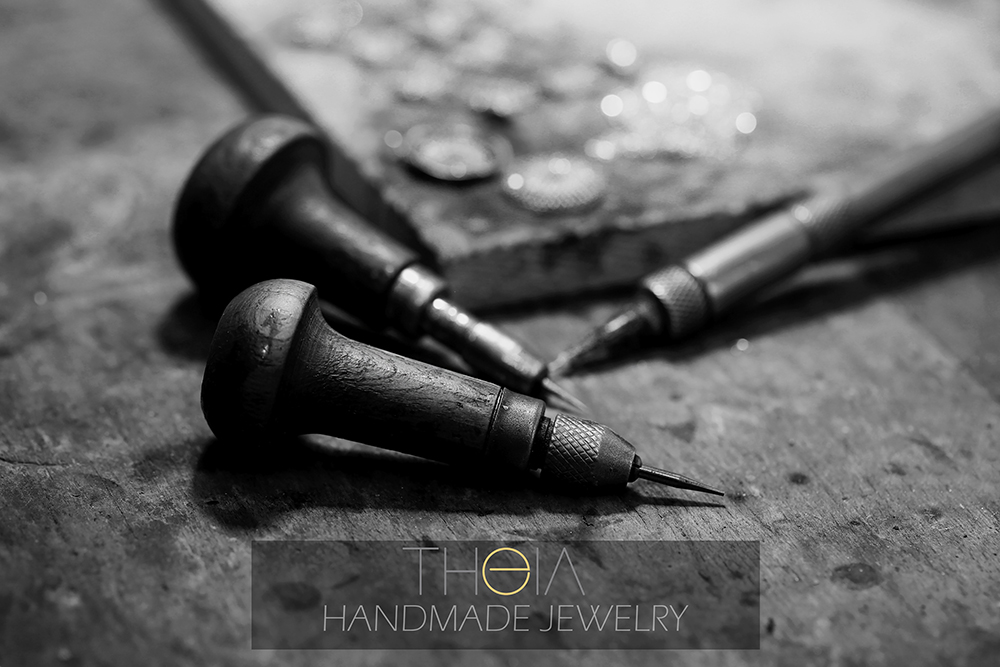
- Setting Tools: Acquire specialized tools such as setting burrs, bezel pushers, burnishers, and prong lifters. These tools are crucial for achieving secure and professional-looking stone settings.
- Jeweler’s Saw and Files: Use a jeweler’s saw for intricate cuts and files to refine the shape of your silver pieces.
- Soldering Equipment: Invest in a torch, soldering pad, and flux for joining silver components through soldering.
- Safety Gear: Ensure you have safety equipment, including goggles and fire-resistant gloves, when working with torches and soldering.
Step-by-Step Guide:
- Design Your Jewelry: Begin by sketching your jewelry design. Consider the type of stone setting you want – bezel, prong, or channel setting, for example. Your design will guide the entire process.
- Prepare the Silver Base: Cut and shape the sterling silver according to your design using a jeweler’s saw and files. Ensure the metal is clean and free of debris for successful soldering.
- Soldering the Base: Using the soldering equipment, carefully solder the pieces together to create the base structure for your jewelry. Pay attention to heat control to avoid damaging the silver.
- Stone Setting Technique: Choose the appropriate stone-setting technique for your design. Bezel settings involve wrapping a metal strip around the stone, while prong settings use metal claws to secure the gem. Each technique requires precision and attention to detail.
- Cutting Seat for the Stone: Carve a seat into the silver base using a setting burr or ball burr, ensuring it accommodates the shape and size of your chosen gemstone. The seat should be secure and snug to prevent the stone from moving.
- Inserting the Stone: Gently place the gemstone into the carved seat. For bezel settings, push the metal over the stone, while prong settings involve carefully positioning the prongs around the gem. Use a prong lifter to adjust prongs for a secure fit.
- Securing the Stone: Once the stone is in place, use a bezel pusher or burnisher to secure the metal around the stone. Ensure the setting is even and polished for a professional finish.
- Final Touches: Clean and polish the entire piece to remove any soldering residues and add a lustrous finish. Consider additional design elements, such as texture or patina, to enhance the overall aesthetic.
- Quality Check: Examine the stone setting for security and symmetry. Ensure that the stone is firmly in place and that the overall design meets your expectations.
- Personalization and Customization: Add personal touches to your silver jewelry, such as engraving or additional embellishments. This step allows you to infuse your unique style into the final piece.
Setting stones in silver jewelry is a rewarding and intricate process that demands patience, skill, and creativity. By following this step-by-step guide, you can embark on a journey to create personalized and breathtaking pieces that showcase your craftsmanship. Whether you’re crafting a gift for a loved one or building your jewelry line, mastering the art of stone setting in silver opens doors to a world of artistic expression and limitless design possibilities.

